.jpg)

How to link your Raenest card to Google Pay

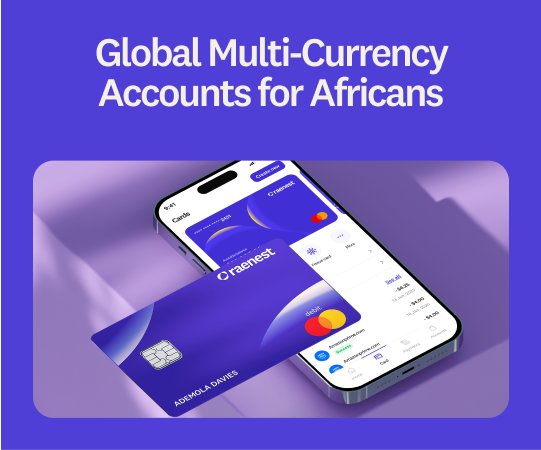
Your Raenest Virtual USD Card already gives you the freedom to pay for subscriptions, online purchases, software tools, and everyday digital services from anywhere in the world. But what if paying could be even faster?
By linking your Raenest card to Google Pay, you can make secure contactless payments directly from your Android device without reaching for your wallet every time.
Whether you're paying for coffee during a work trip, checking out at a store abroad, or simply looking for a more convenient way to pay, setting up Google Pay takes only a few minutes.
🔗ICYMI: Here’s how to add your Raenest card on Google Play Store.
Why add your Raenest Card to Google Pay?
- Make fast contactless payments in stores
- Leave your physical wallet behind when convenient
- Enjoy the security features built into both Google Pay and your Raenest card
The experience is simple, secure, and designed to make everyday payments feel effortless.
Before you begin
Before linking your card to Google Pay, make sure:
- You have an active Raenest Virtual USD Card.
- Google Wallet is installed on your Android device.
- Your phone supports contactless payments (NFC).
- You have access to your email or phone for verification.
If you haven't created your Raenest card yet, you can do that directly from the Raenest app and start using it immediately after creation.
How to add your Raenest Card to Google Pay
Step 1: Open Google Wallet
Launch the Google Wallet app on your Android device.
Step 2: Tap "Add to Wallet"
Look for the Add to Wallet button or the + icon and tap it.
Step 3: Select "Payment Card"
Choose Payment Card from the available options.
Step 4: Add a New Card
Select Add a New Debit or Credit Card.
Step 5: Enter Your Raenest Card Details
Manually enter your Raenest card information, including:
- Card number
- Expiry date
- CVV
- Billing address
You can find these details inside the Raenest app whenever you need them.
Step 6: Verify Your Card
For security purposes, you'll be asked to verify the card. This may be done through an OTP sent via email or another verification method provided during setup. Raenest supports secure authentication measures to help protect your transactions.
Step 7: Start Paying
Once verification is complete, your Raenest card will be added to Google Pay and ready for contactless payments. Simply unlock your phone, hold it near a compatible payment terminal, and tap to pay.
Enjoy faster, more flexible payments
Whether you're paying for subscriptions online, shopping internationally, or tapping your phone at checkout, Google Pay makes your Raenest card even more convenient to use. If you don't have a Raenest card yet, create one in minutes, add it to your Google Wallet, and start paying with a tap.

